

Hello Readers, hope you’re well.
A quick one today on a new service in the Microsoft Teams Admin Centre.
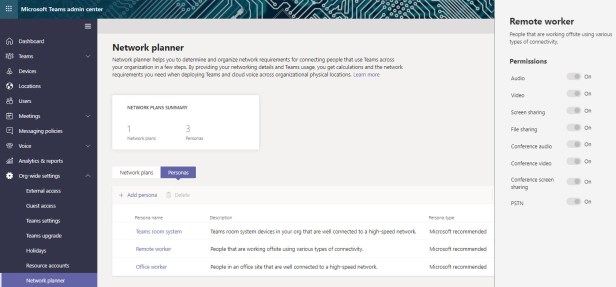
Network Planner
 The Network Planner helps you determine and organize the network requirements for connecting your organization to Teams. You add the details of your entire network including individual sites, the WAN and internet egress details along with personas and user counts and the Network Planner calculates the network requirements for using Teams.
How to do it
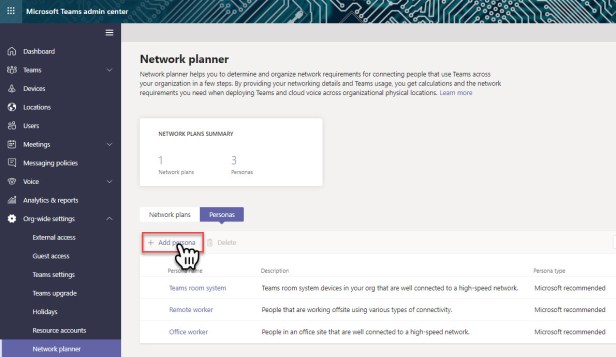
First, personas. Personas determine the type of user you have in your company. There are three default “Microsoft Recommended” personas. Click on one and you’ll see what permissions are allowed.
You can create new personas by clicking Add persona
Then give it a name and use the on/off switches to assign permissions (workloads).

When you save the new persona you’ll see it in the list

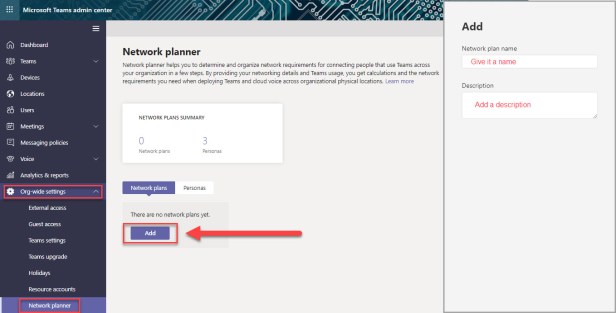
Now go back and add a network plan and give it a name and description
Go back to the previous screen and click on your new plan

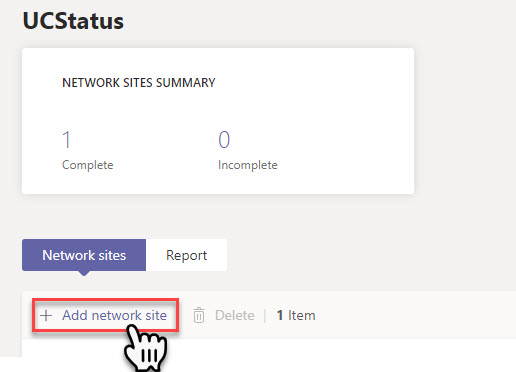
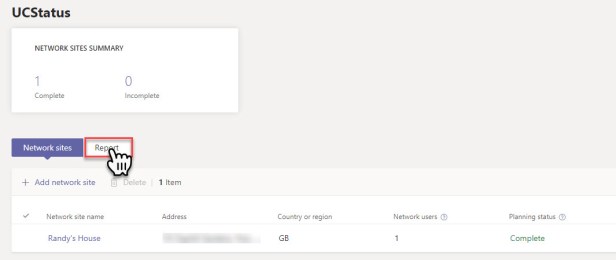
Now add a Network Site
And enter all the details including user count, network subnets, whether you’re using Express Route or WAN including access speed and internet egress.

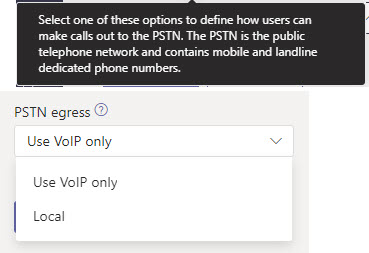
And lastly, whether you’re using VoIP or a local SBC for PSTN egress. The Docs site lists the choices as none, remote or local.
Then save and go back to your network site list. Then click report
Add Report
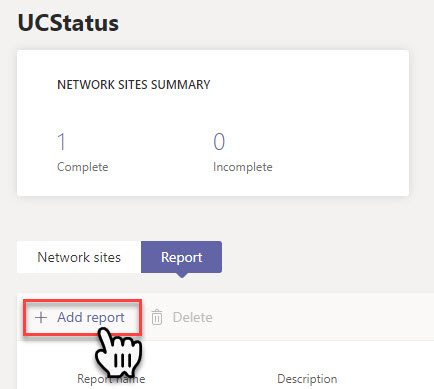
Name it and add personas as needed

Apply the users to each persona. If you use the Microsoft recommended personas, the number will be distributed automatically (80% office worker and 20% remote worker).

Then Generate the report

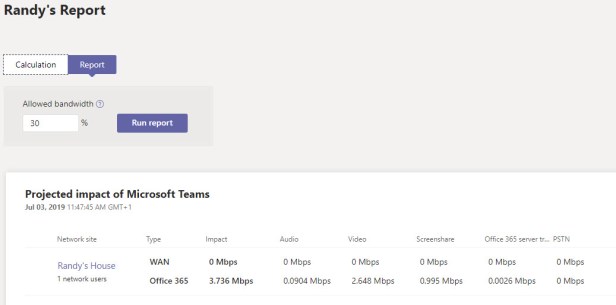
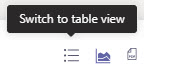
The default view is the Table View
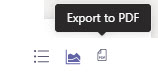
You can switch to a chart view or export the report to PDF
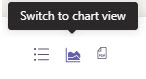
This is the chart view

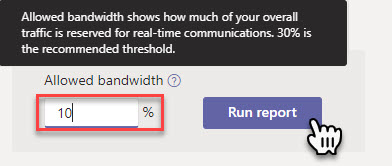
You can also adjust the bandwidth that has been reserved for real-time communications.
Each time you run a report, it is added to the history so you can go back and take a look.

Wrap up
The Network Planner is a welcome addition to the Teams Admin Centre. It helps you plan and visualize the impact of using Teams on your network. The Network Planner in the Teams Admin Centre replaces the bandwidth calculator from the MyAdvisor site. If you visit https://aka.ms/bwcalc you’ll get a 404 not found. Now you know why 😉.
For more information on the Network Planner, visit the Microsoft Docs page here.
And that’s all folks! Thanks for reading.
Discover more from
Subscribe to get the latest posts sent to your email.

Hey, any idea what role you need assigned to view the network planner under org-wide settings, I’ve got Teams Service Administrator but its not showing for me 😦
LikeLiked by 1 person
Hi Chris,
I don’t know what the minimum is, but Teams Service Admin definitely has access to the network planner. I just logged in a one in my tenant and I definitely have it.
LikeLike